With great affection, I undertook the task of insulating the catio.
In the brisk autumn air, as the leaves changed color and the days grew shorter, I embarked on a project to insulate the catio. It was a labor of love, driven by my desire to provide a cozy and comfortable space for my beloved feline family. After careful planning and gathering the necessary materials, I set to work. The catio, an enclosed outdoor space designed specifically for cats, was in need of some extra insulation to protect the cats from the impending winter chill.
With each step, I took great care to ensure that the insulation was both effective and safe for my furry companions. I chose high-quality insulating materials that were non-toxic and environmentally friendly. I also paid close attention to sealing any gaps or cracks that could allow cold air to seep in. As I worked, I envisioned the cats curled up together, snuggled in the warm enclosure, enjoying the winter months without shivering or feeling cold.
The project took several days to complete, but the nearly finished result was well worth the effort. The insulated catio was now a cozy haven, a place where my cats could relax and enjoy the outdoors, even during the coldest of days. It was a reminder of the love and care I have for my feline family, and the importance of providing them with a comfortable and safe environment to call their own.
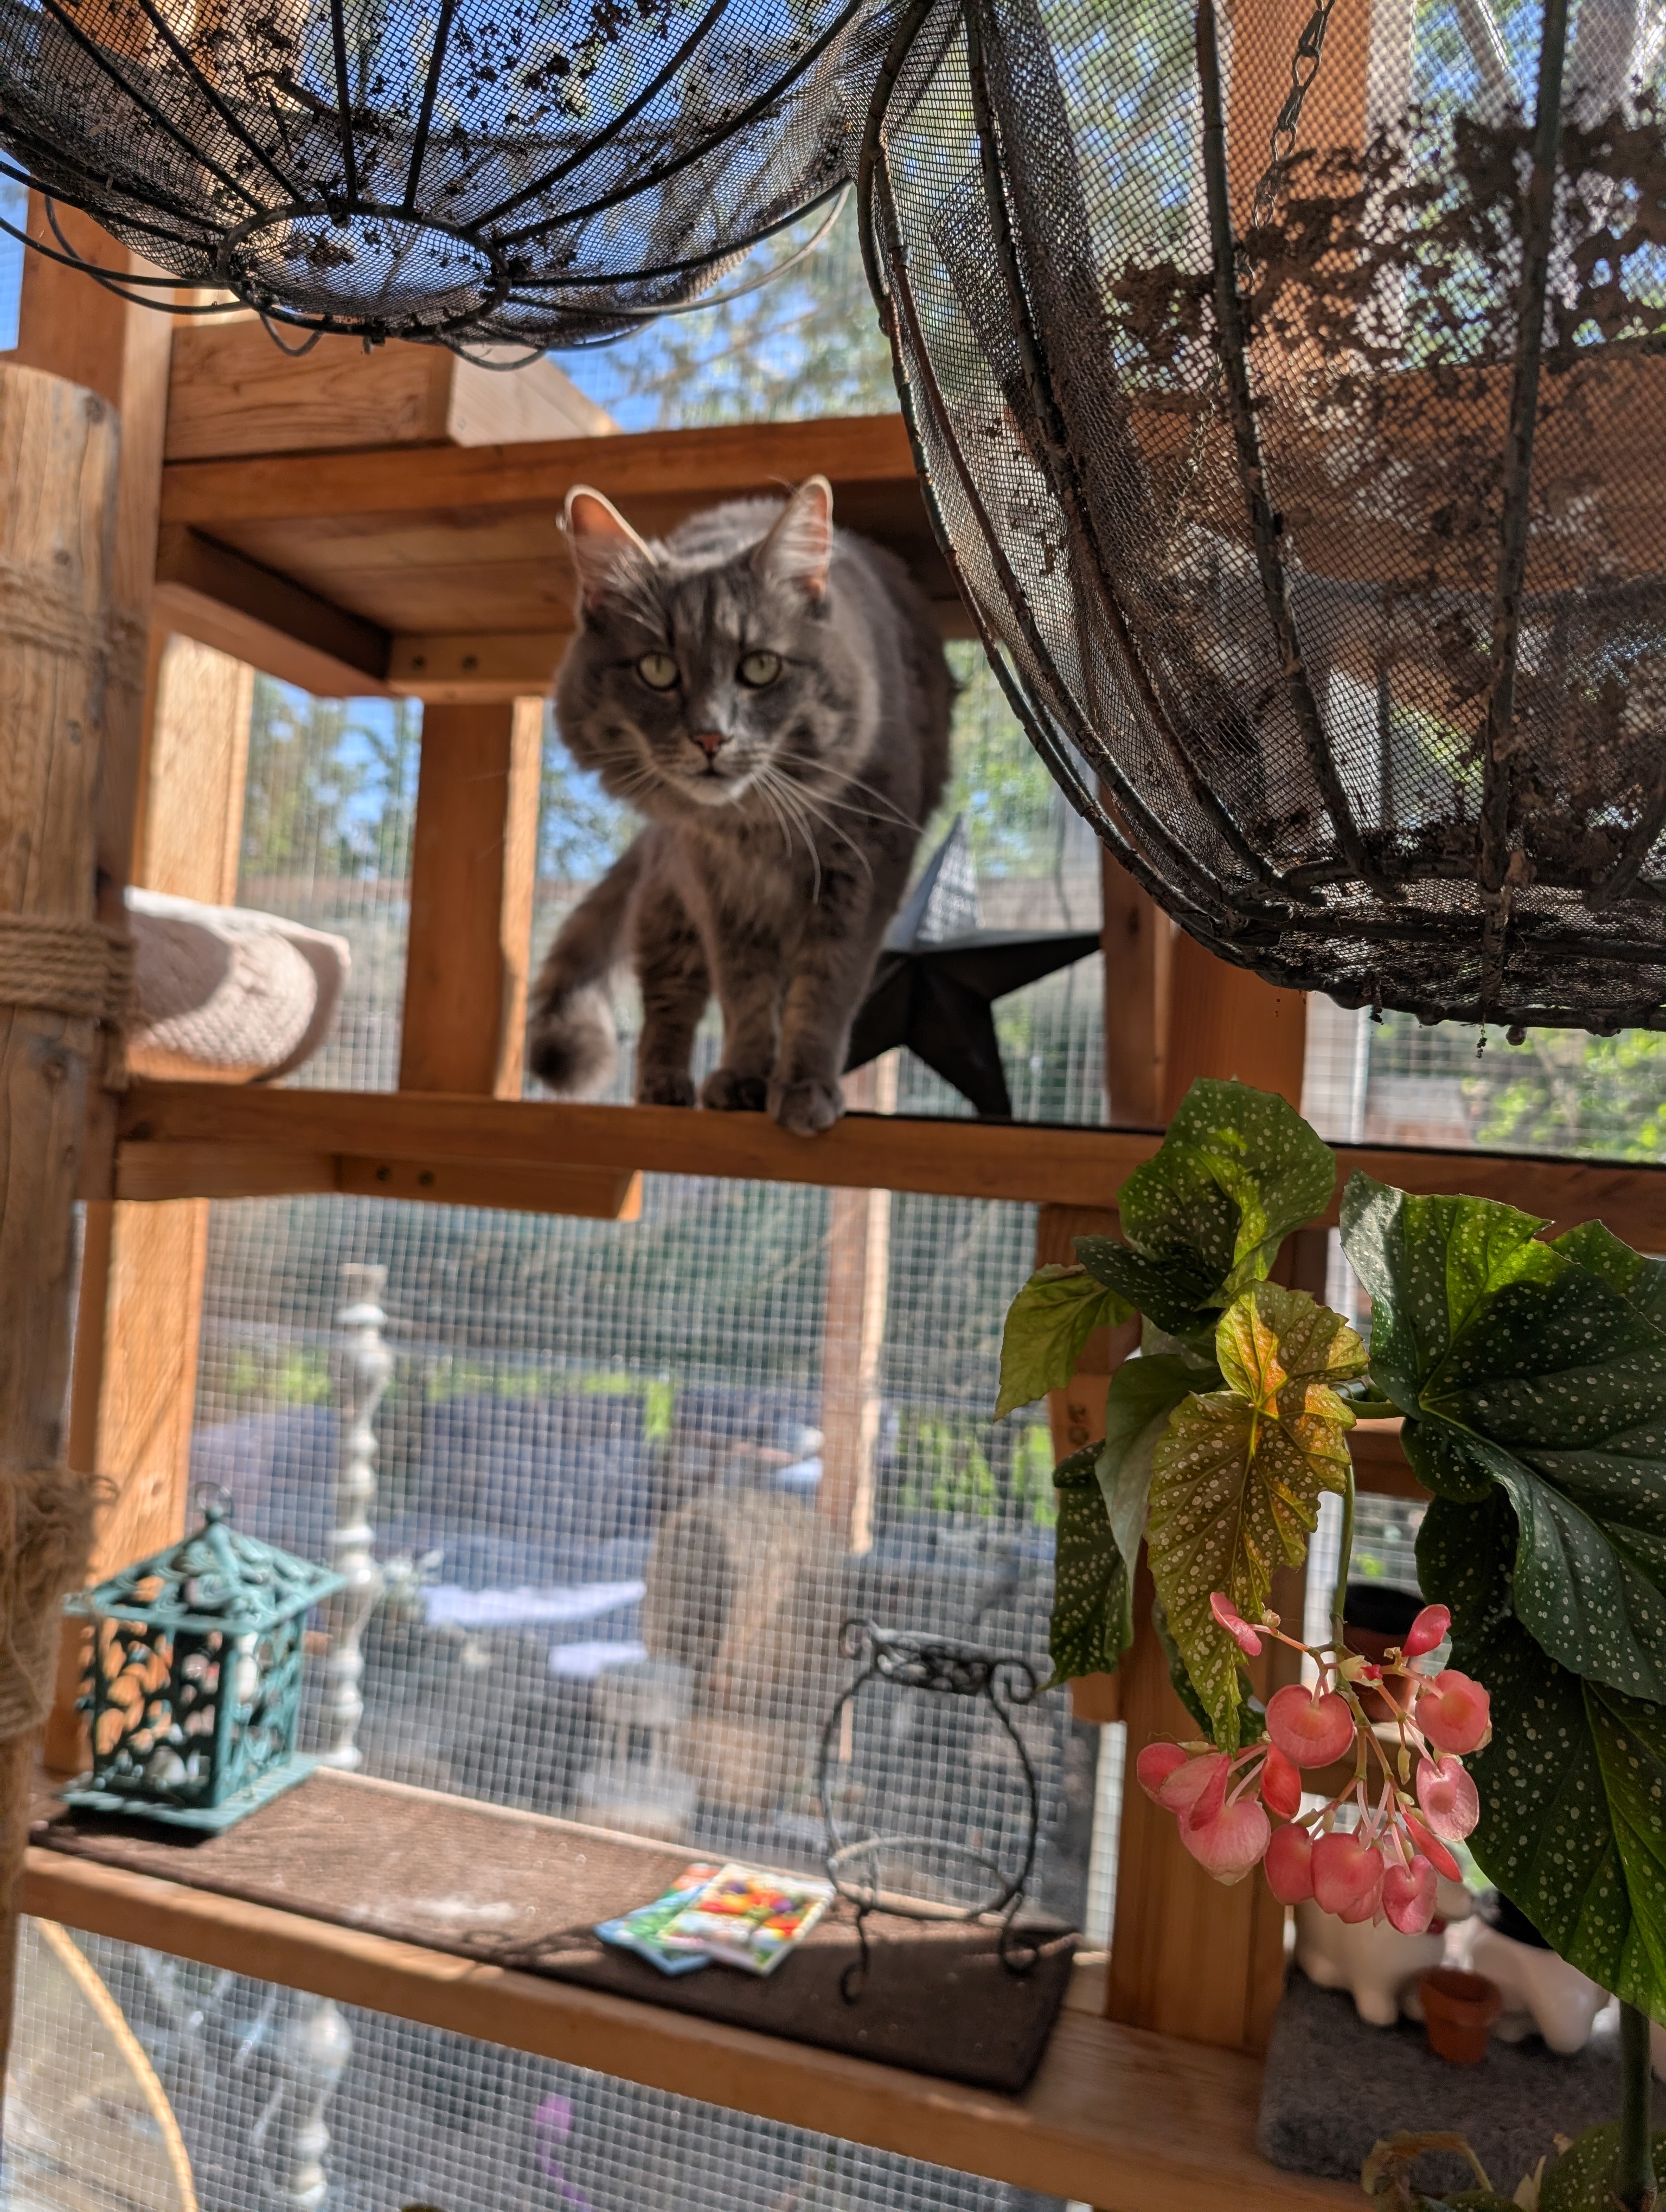
The catio has become the integral part of the daily routine.
When I envisioned and built The Catio three years ago, I had hoped to create a safe and enjoyable outdoor space for my beloved felines. The clear propylene roof proved to be the key element in making this vision a reality. It provided ample protection from the scorching summer sun, allowing the catio to remain cool and comfortable even during the warmest months.

The catio has become an integral part of our daily routine. During the summer mornings and evenings, we delight in the gentle breezes that flow through the structure, creating a pleasant and refreshing ambiance. The open patio door invites our furry friends to come and go as they please, fostering a sense of freedom and adventure.
Overall, The Catio has been an incredibly rewarding addition to our home, providing a safe and stimulating environment for our cats while giving us peace of mind knowing that they are content and well cared for.
Wet, cold, windy winters.
The previous winters, particularly the excruciatingly long one we endured last year, had rendered our cherished retreat virtually unusable. The relentless snowfalls buried the shelves, necessitating frequent use of a blower to clear the fresh dumps. The seating areas required constant covering to protect them from the elements.
However, amidst all these challenges, the most pressing concern was the cats’ reluctance to use their designated Box when the weather turned windy or wet. This inconvenient predicament resulted in an increased workload for me, as I had to deal with more waste inside the house.

Despite the presence of heating pads operating round the clock, the catio remained largely unappealing to our furry friends. Even the warmth of my electric blanket, while comforting, couldn’t compete with the biting winds that swept through the enclosure.
Finding the products.
Last autumn, while browsing Amazon for an unrelated product, I stumbled upon a clear vinyl tarp. Imagine my astonishment when I discovered the existence of such an item, as I had never encountered one during my visits to our local hardware stores. The intriguing nature of this product immediately captivated me, and I delved deeper into its specifications.
This transparent vinyl tarp was crafted from durable, heavy-duty material, ensuring its resilience against the elements. The reinforced edges and rust-resistant grommets of this vinyl tarp enhanced its durability and longevity. Such thoughtful design elements ensured secure anchoring, enabling the tarp to withstand strong winds and harsh conditions without tearing or compromising its protective capabilities.

The tarps I received came in a variety of sizes, unfortunately, none of them were angled to fit one side of the angled catio, nor were there any smaller sized ones to fit another side around the door. I decided to purchase one to fit the squared side, but it took me quite some time to find one that would work for the angled side.
When the initial 8′ x 8′ tarp arrived, it was neatly folded and encased within a tightly wrapped package. To my surprise, it felt significantly heavier than your average tarp. Determined to secure it properly, I embarked on a mission to a nearby hardware store in search of the perfect screw eyes. These would serve as the vital connection points between the catio framing and the grommets on the tarp.

The task of setting the tarp upright proved to be no easy feat. Not only was it cumbersome due to its weight, but I also discovered a discrepancy in its dimensions. Contrary to the information indicated on the packaging, the tarp fell short of the promised 8 feet by a couple of inches. This revelation came as no great shock, as such discrepancies are not uncommon.

As I happily awaited the arrival of my first tarp, I couldn’t help but feel a sense of relief for only ordering one. This gave me the opportunity to thoroughly understand its functionality and mechanics before tackling the larger and more complex angled portion of my project.
After triumphantly setting up the first tarp, my mind began contemplating the various options available to me for the larger and angled side of the project. It became increasingly apparent that ordering two tarps would be a more prudent decision than just one. By doing so, I would have a dedicated tarp for each half of the angled side, eliminating the need to compromise and make do with a single tarp. This approach would not only simplify the process but also provide me with the necessary materials to execute my vision effectively.

The prospect of having two tarps excited me. Not only would it streamline the setup process, but it would also provide me with greater flexibility and control. With a tarp designated for each half of the side, I could customize the coverage and positioning to suit my specific requirements. This newfound versatility would undoubtedly enhance the overall outcome of my project, ensuring a seamless and visually appealing result.
Do It Yourself approach.
For the final side of the catio with the door entryway, I took a DIY approach and crafted three custom-fitted frames to enhance insulation and weather resistance. To construct the frames, I utilized a nail gun, ensuring sturdy and secure assembly. For the top and two sides of framing surrounding the door, I employed furry strips, which provide an effective barrier against drafts and moisture.
Moving on to the two frames, I cut a piece of clear vinyl from a roll, ensuring a precise fit. Using a staple gun, I securely attached the vinyl to the back of the frames, creating a transparent and flexible covering. This layer adds an additional line of defense against the elements while still allowing natural light to filter through.

For the third frame, I opted for a different approach. I purchased a thick, clear shower curtain, known for its water-resistant properties. I meticulously attached the shower curtain to the frame, employing a combination of nails and staples for maximum hold. This heavy-duty material promises enhanced protection against harsh weather conditions, including snow and wind.

It’s important to note that I am currently experimenting with various products to determine their effectiveness during the winter months. By testing different materials and construction techniques, I aim to identify the most efficient and reliable solutions for insulating the catio. The outcomes of this experimentation will provide valuable insights and help me make informed decisions for the long-term.
To equip my door with effective insulation and protection from the elements, I opted for transparent strip curtains commonly utilized in walk-in freezers and warehouse doorways. The clarity of these curtains would allow light to pass through while maintaining visibility. In preparation for the installation, I cut a scrap piece of 1×6 lumber to serve as a sturdy base for the stainless steel bracket that would hold the strip curtains in place.
Next, I proceeded to attach the 1×6 assembly onto the top edge of the door entryway. By carefully aligning the 1×6 with the door frame and utilizing the proper screws, I ensured a secure and level installation. This would provide a solid foundation for the strip curtains to hang from and function optimally.

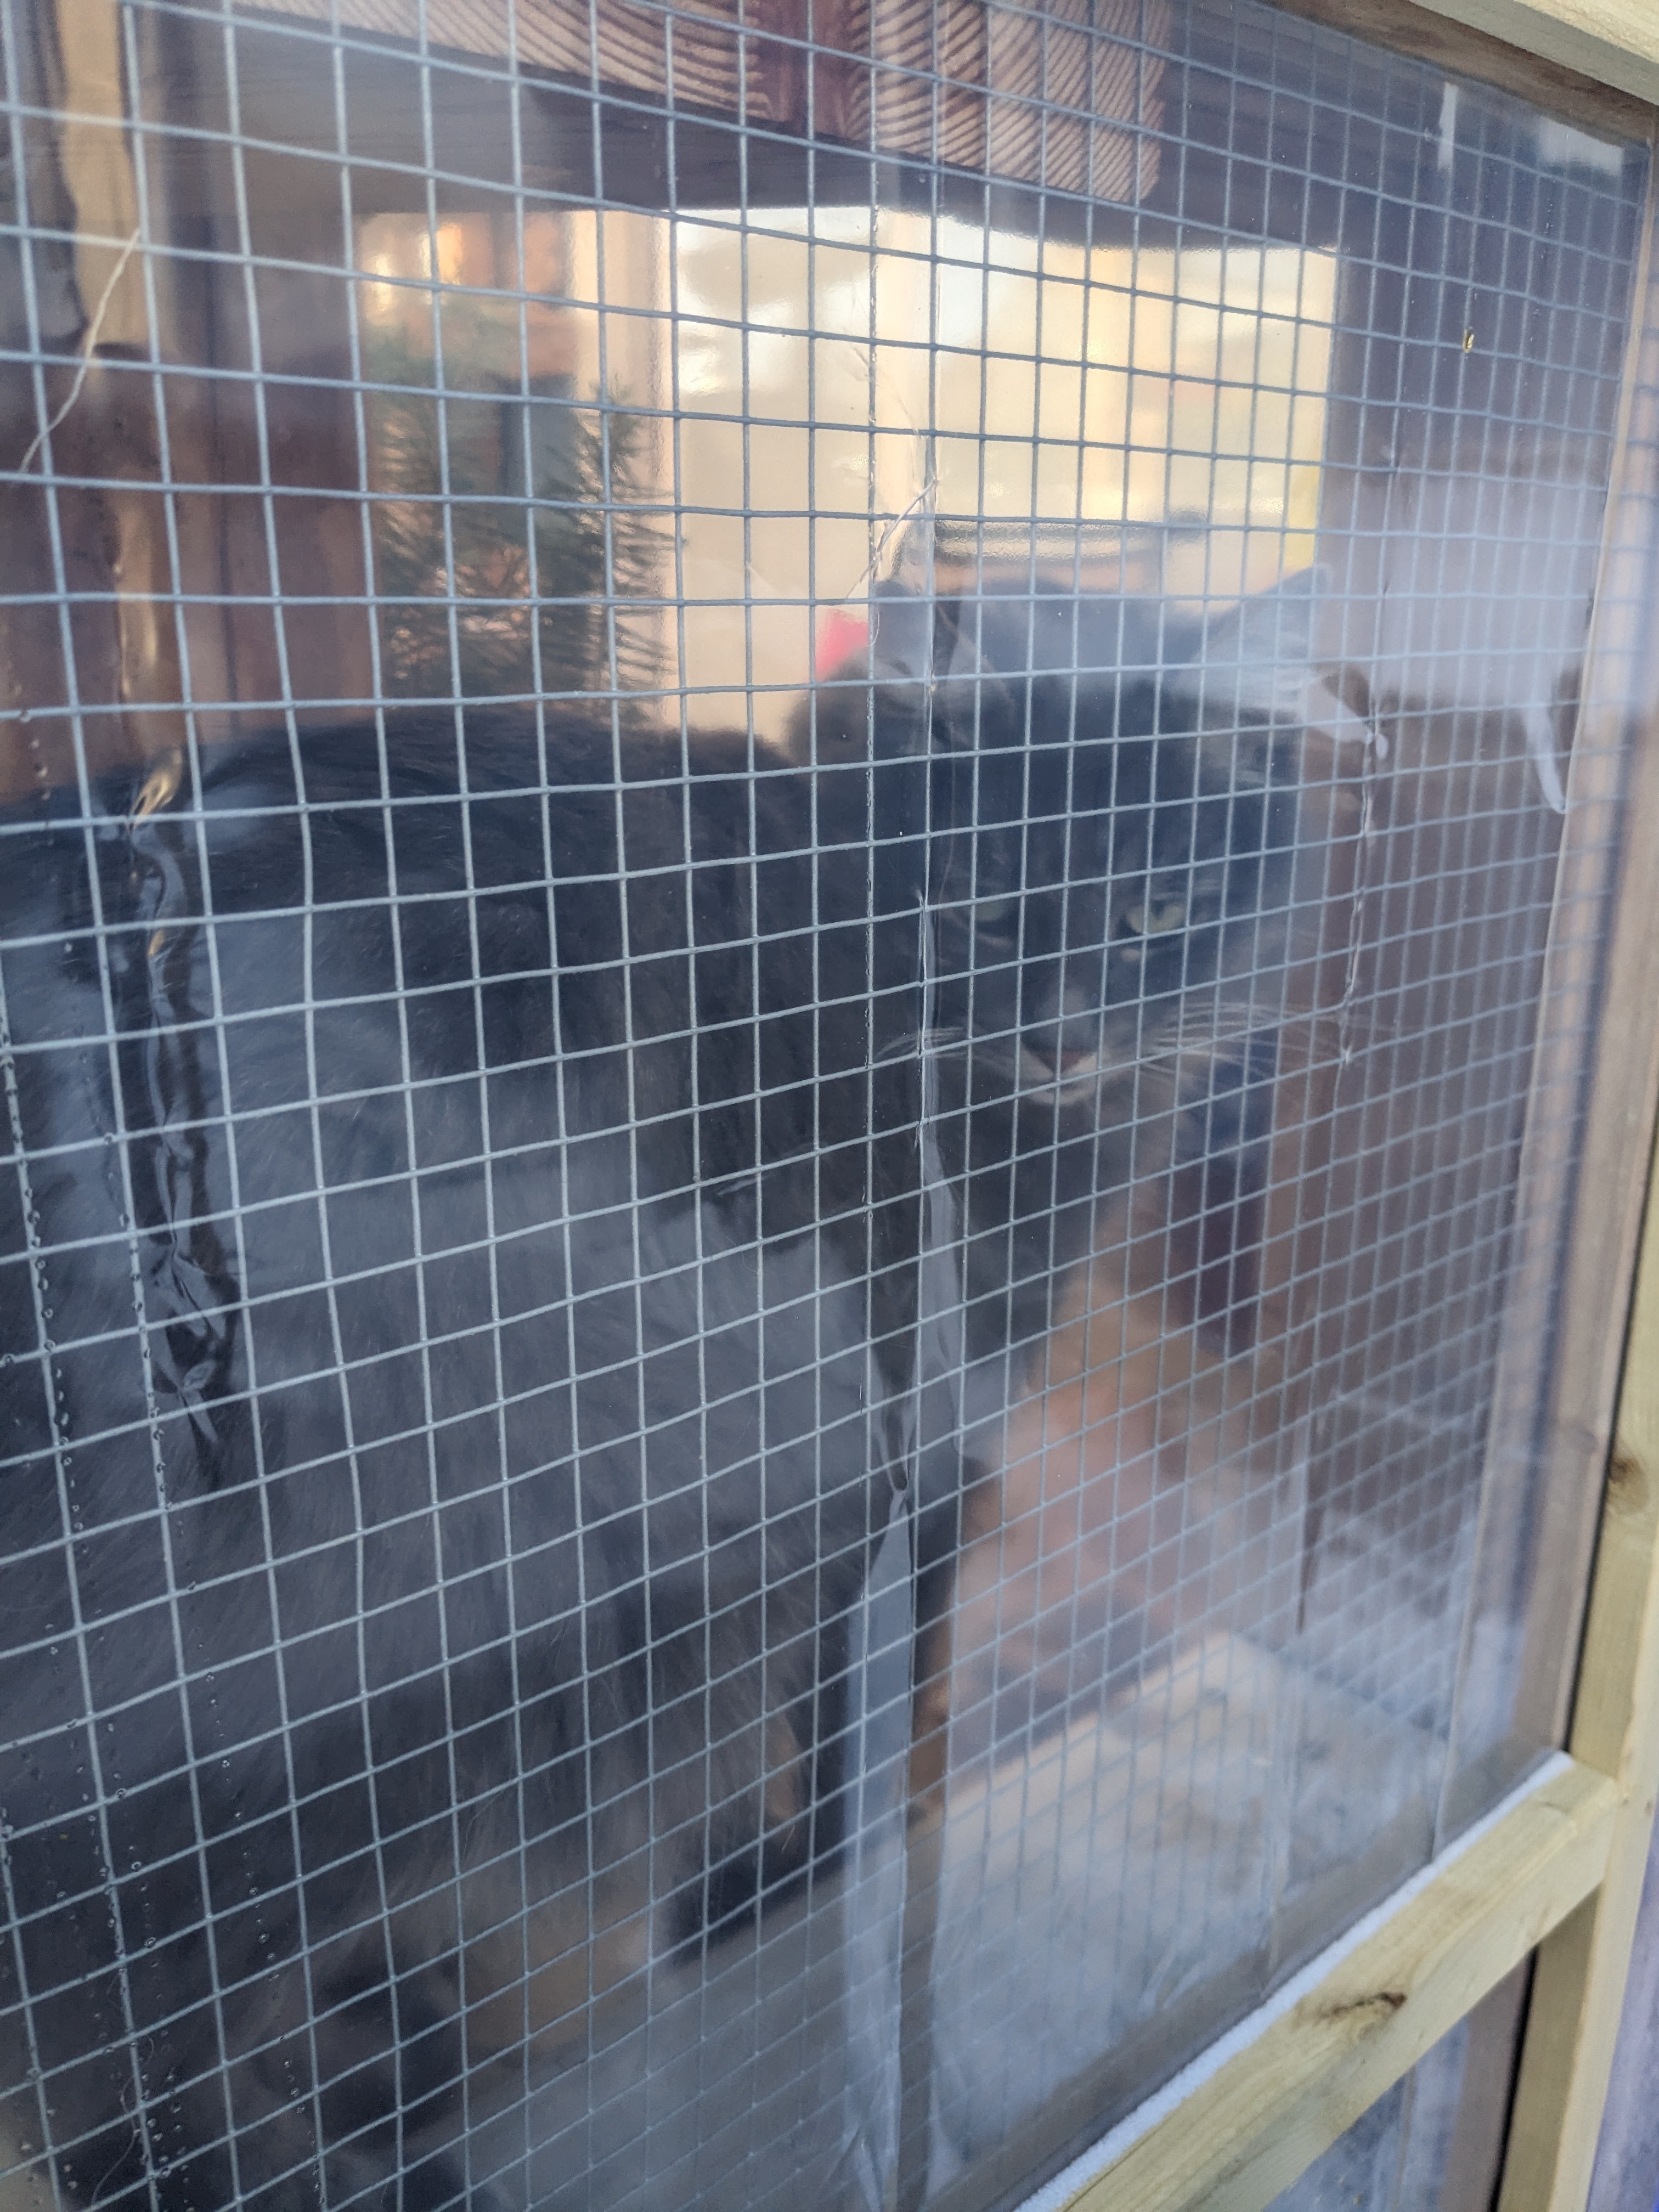
Viola! The catio is now insulated.
By combining store-bought tarps, strip curtains with custom-made frames, I was able to create a fully enclosed catio that would provide my feline friends with a warm, dry, and comfortable outdoor space and also contributed to the overall efficiency and visual appeal of my space.

Three months have passed since the initial setup, and I’m thrilled to report that I haven’t encountered a single issue with any of the tarps or the custom-made frames. These elements have proven to be incredibly durable and reliable.
Although the tarps may exhibit some creasing due to their folded state during packaging and delivery, this is a natural consequence and will gradually diminish with time as the material adjusts and flattens out. It is crucial to recognize that this minor aesthetic imperfection does not compromise the overall performance and efficacy of the system in any way.
The entire setup has exceeded my expectations and continues to perform flawlessly, providing reliable protection and shelter from the elements. I am confident that this system will serve us well for many years to come, making it an excellent long-term investment.


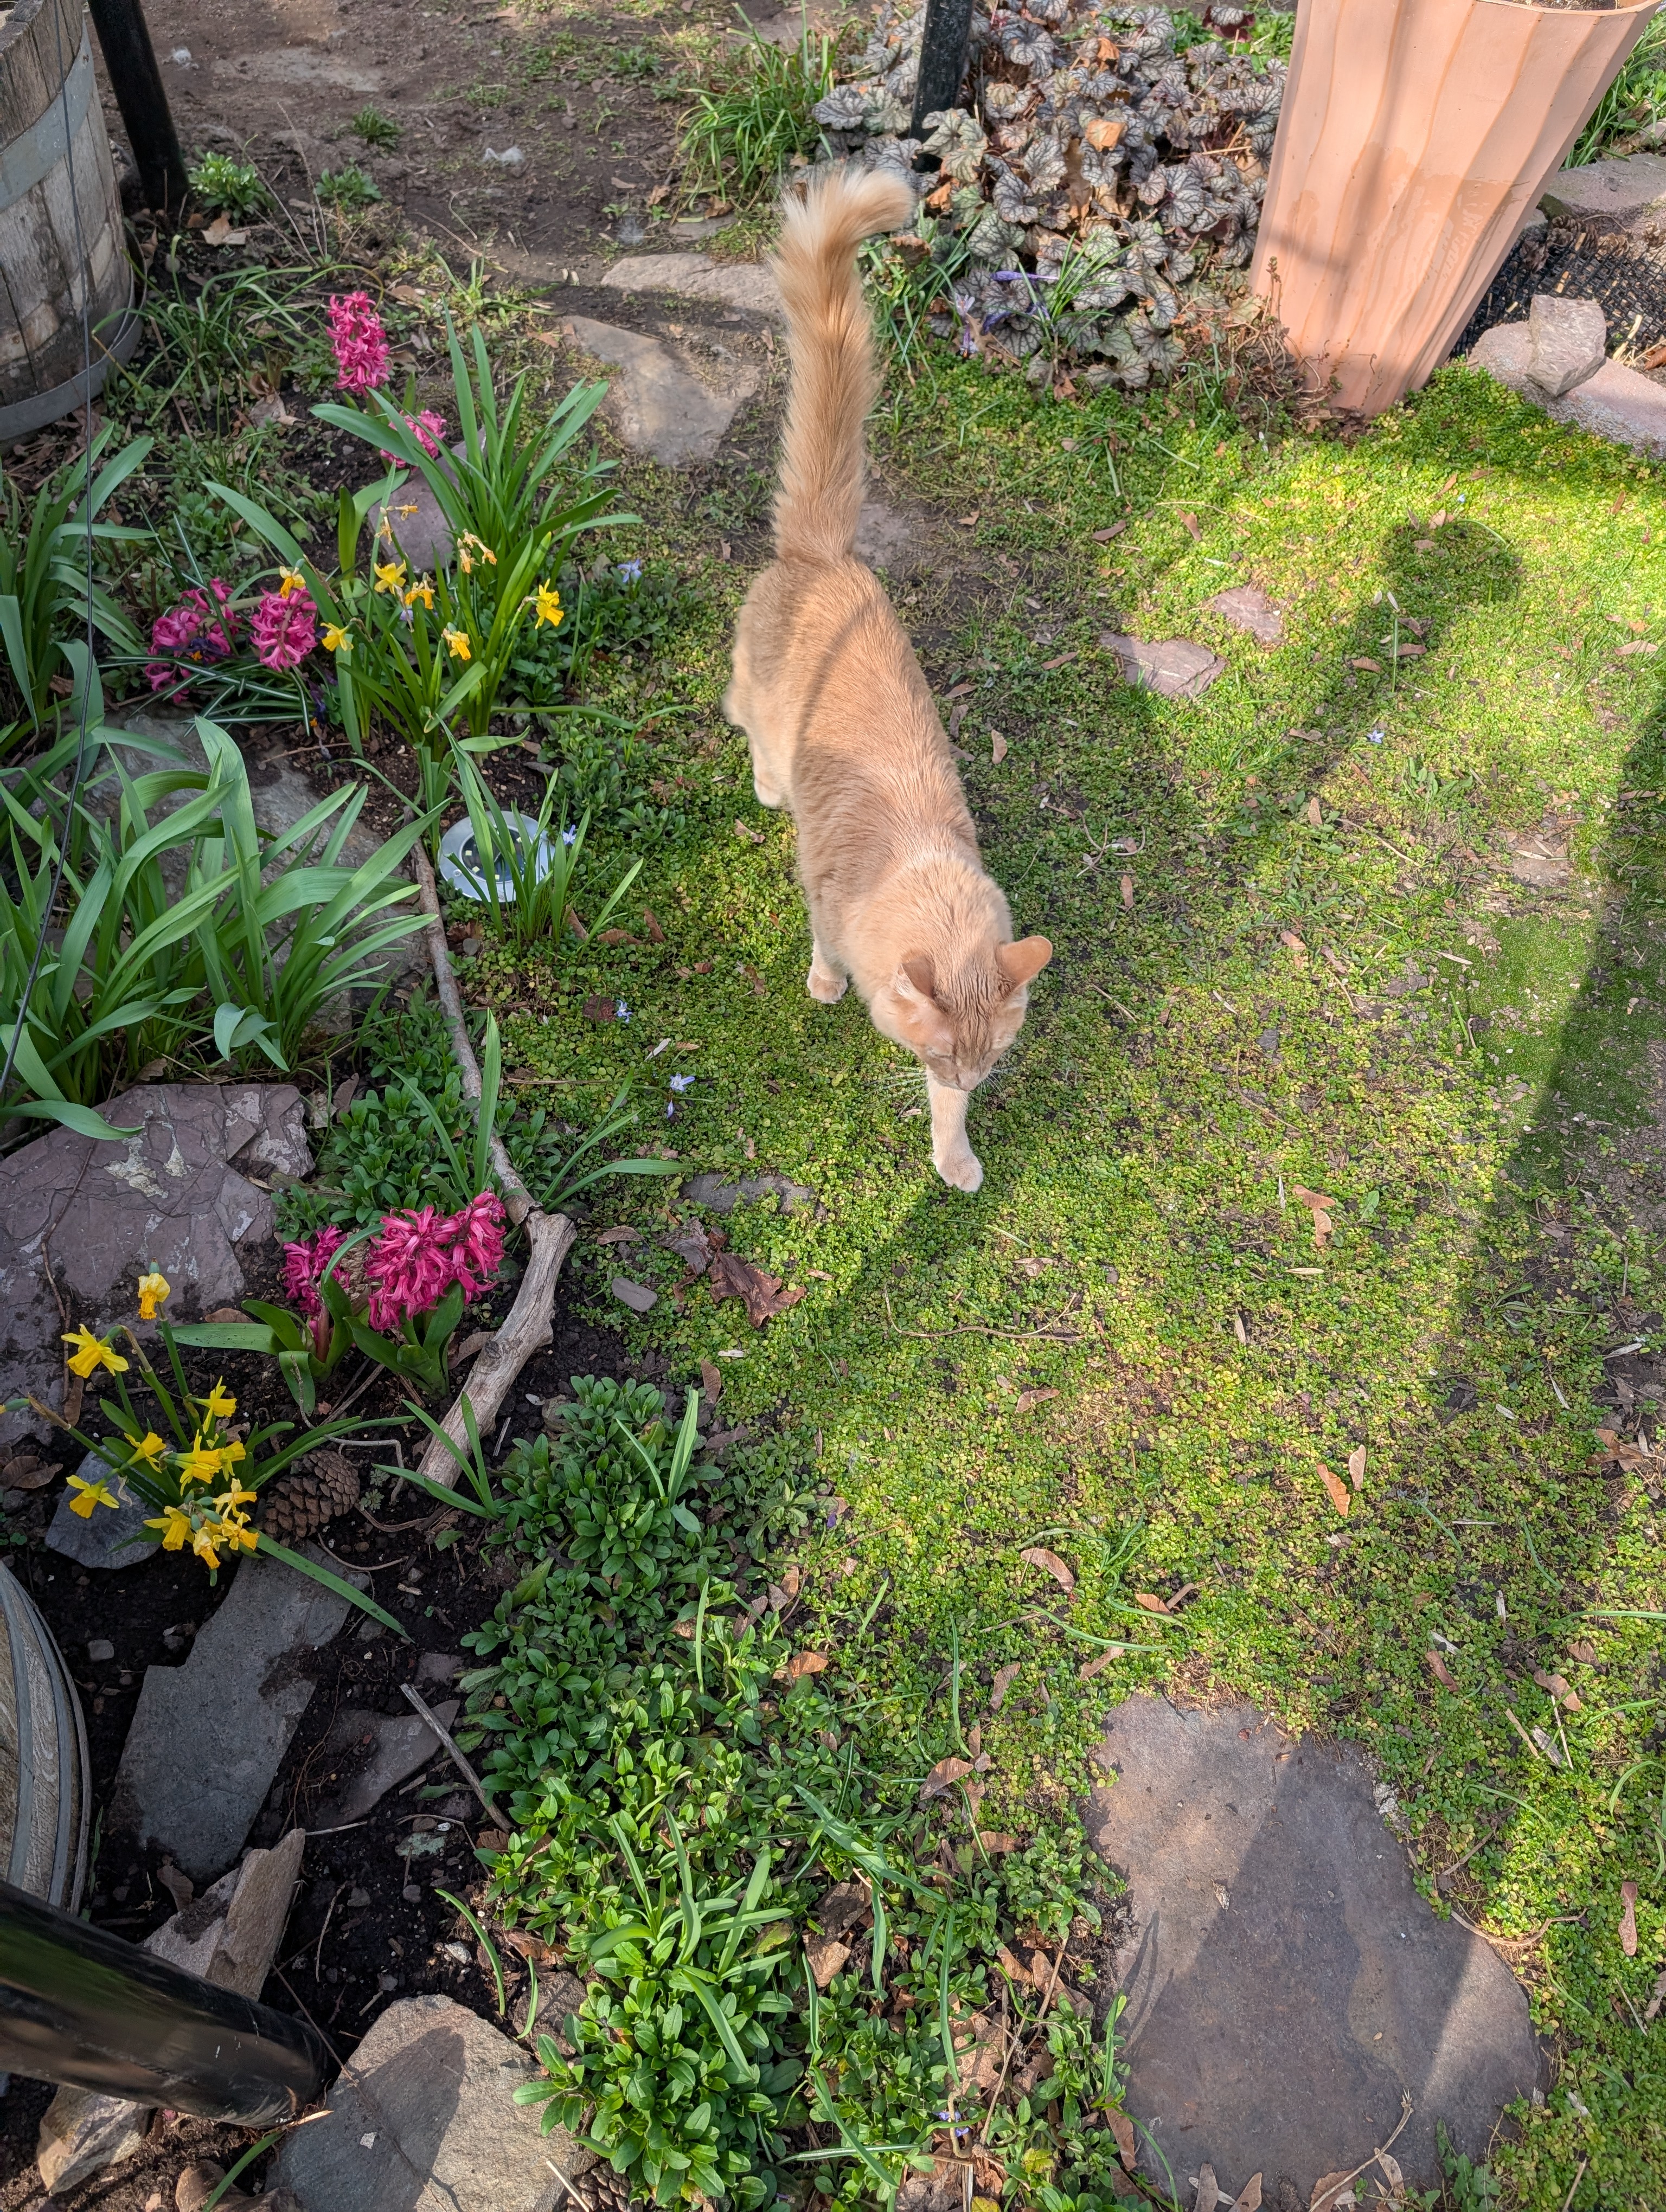
The next step.
As spring approaches, I’m eagerly looking forward to continuing the project. However, I must address the challenge of managing the heavy tarps. The thought of taking them down, folding them, and putting them away repeatedly seems like a tedious and time-consuming task. To streamline this process, I’ve decided to explore an alternative solution.
My plan is to acquire a 1-inch PVC pipe. Instead of removing the tarps entirely, I’ll simply roll them up around the pipe and secure them in place. This will allow me to keep them neatly organized and easily accessible while minimizing the hassle of folding and storing them.

As for the frames, I’ll take them off during the warmer months and store them neatly beside the freezer downstairs. This way, they’ll be readily available when I need them for future use. The strips will be rolled up and stored in a box.
In conclusion, the covered catio proved to be an exceptionally worthwhile investment, providing an array of unparalleled advantages to our beloved feline residents. It offered a windproof haven, shielding the furry residents from biting cold winds. While the air outside remained crisp and invigorating, the catio’s enclosed space effectively blocked any drafts or gusts, creating a tranquil and comfortable ambiance. The addition of heating pads and the strategic placement of a dry litter box further elevated their living experience, ensuring utmost coziness and hygienic conditions.
Insulated catio is not just for the cats. I want to snuggle too!
During those chilly winter months, I would often find myself snuggled beneath an electric blanket inside the insulated catio, gazing at the magnificent full moon while sipping on a glass of wine. It was a cherished routine that was occasionally accompanied by one or two of my feline companions, seeking solace and warmth by my side. These moments of tranquil togetherness deepened our bond and brought a profound sense of contentment to my heart.
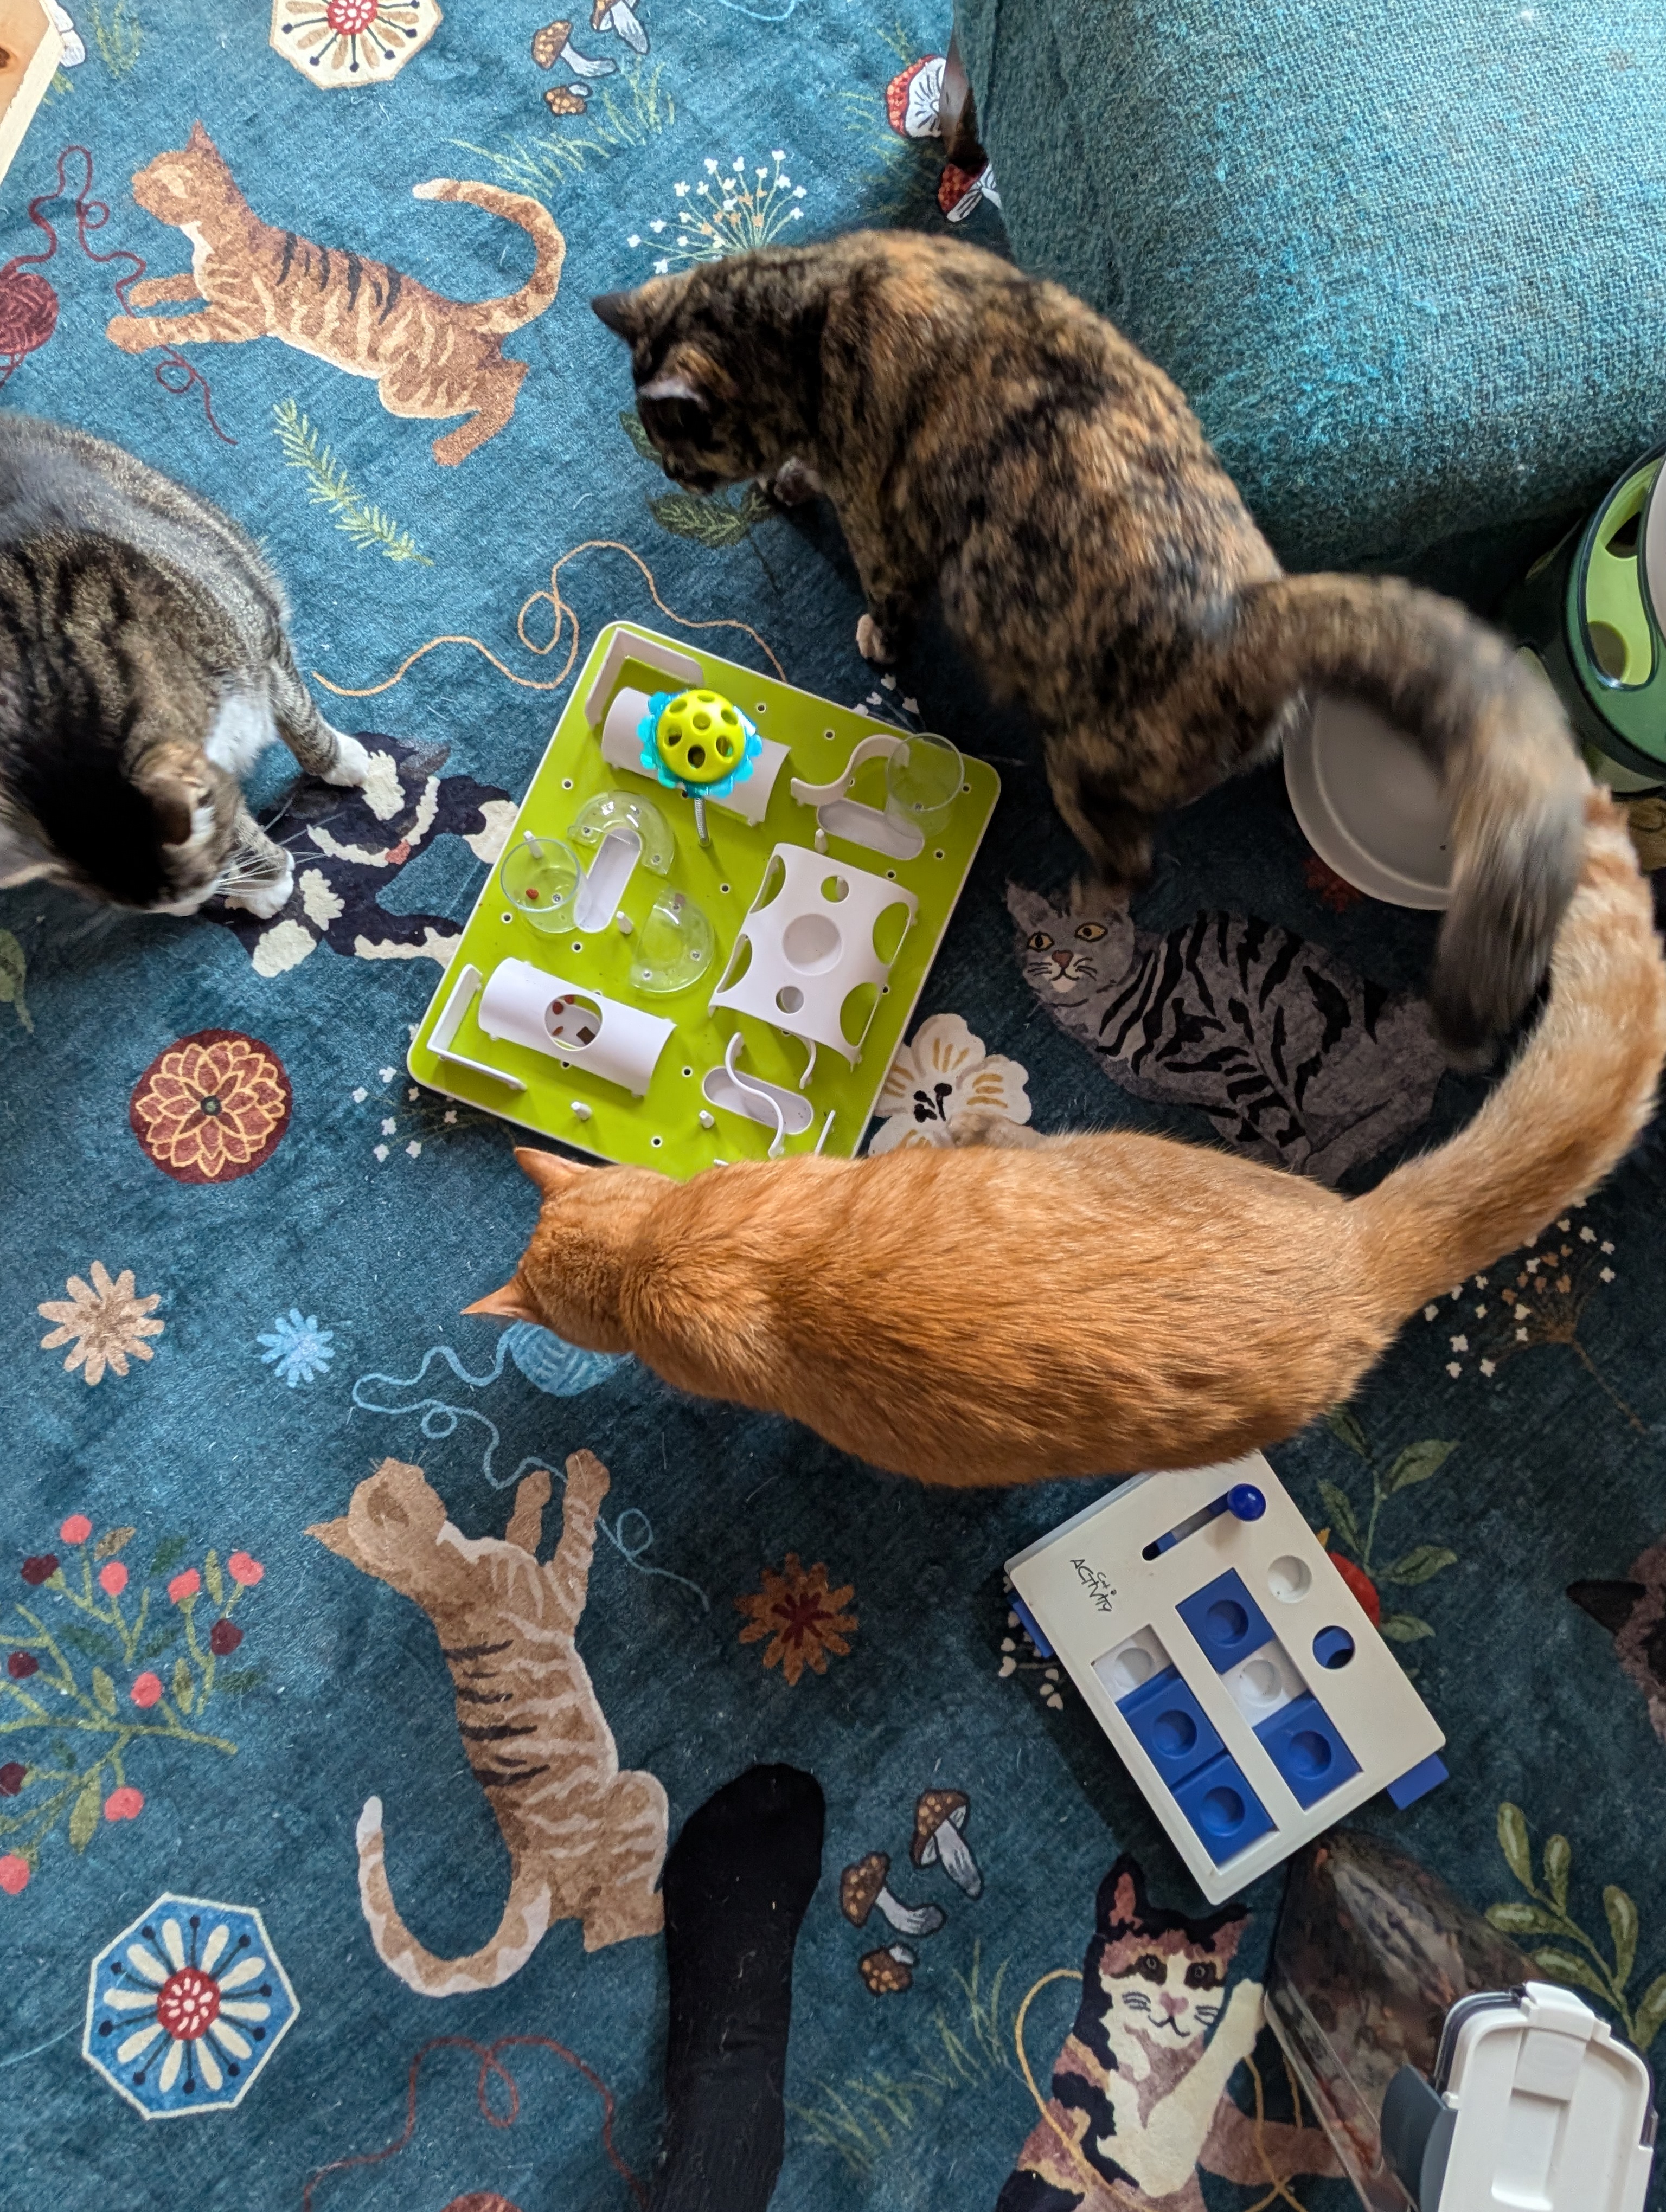
Stay tuned for regular updates on the exciting adventures and playful antics taking place in the catio. Check out The Catio without its cover. I’ll be sharing more photos and stories of my furry friends as they revel in their very own paradise.
Leave a Reply